The FACEIO Development Team is thrilled to announce the immediate availability of fio.js V2.1, our cutting-edge Facial Recognition Web Framework with groundbreaking new features with the goal of enhancing security and compliance for your applications.
Over the past few months, we have developed an innovative age verification security option that prevents minors from on-boarding on your application, ensuring your sensitive services remain accessible only to the appropriate age groups.

Enhanced Security with Minors Access Prevention 🛡️

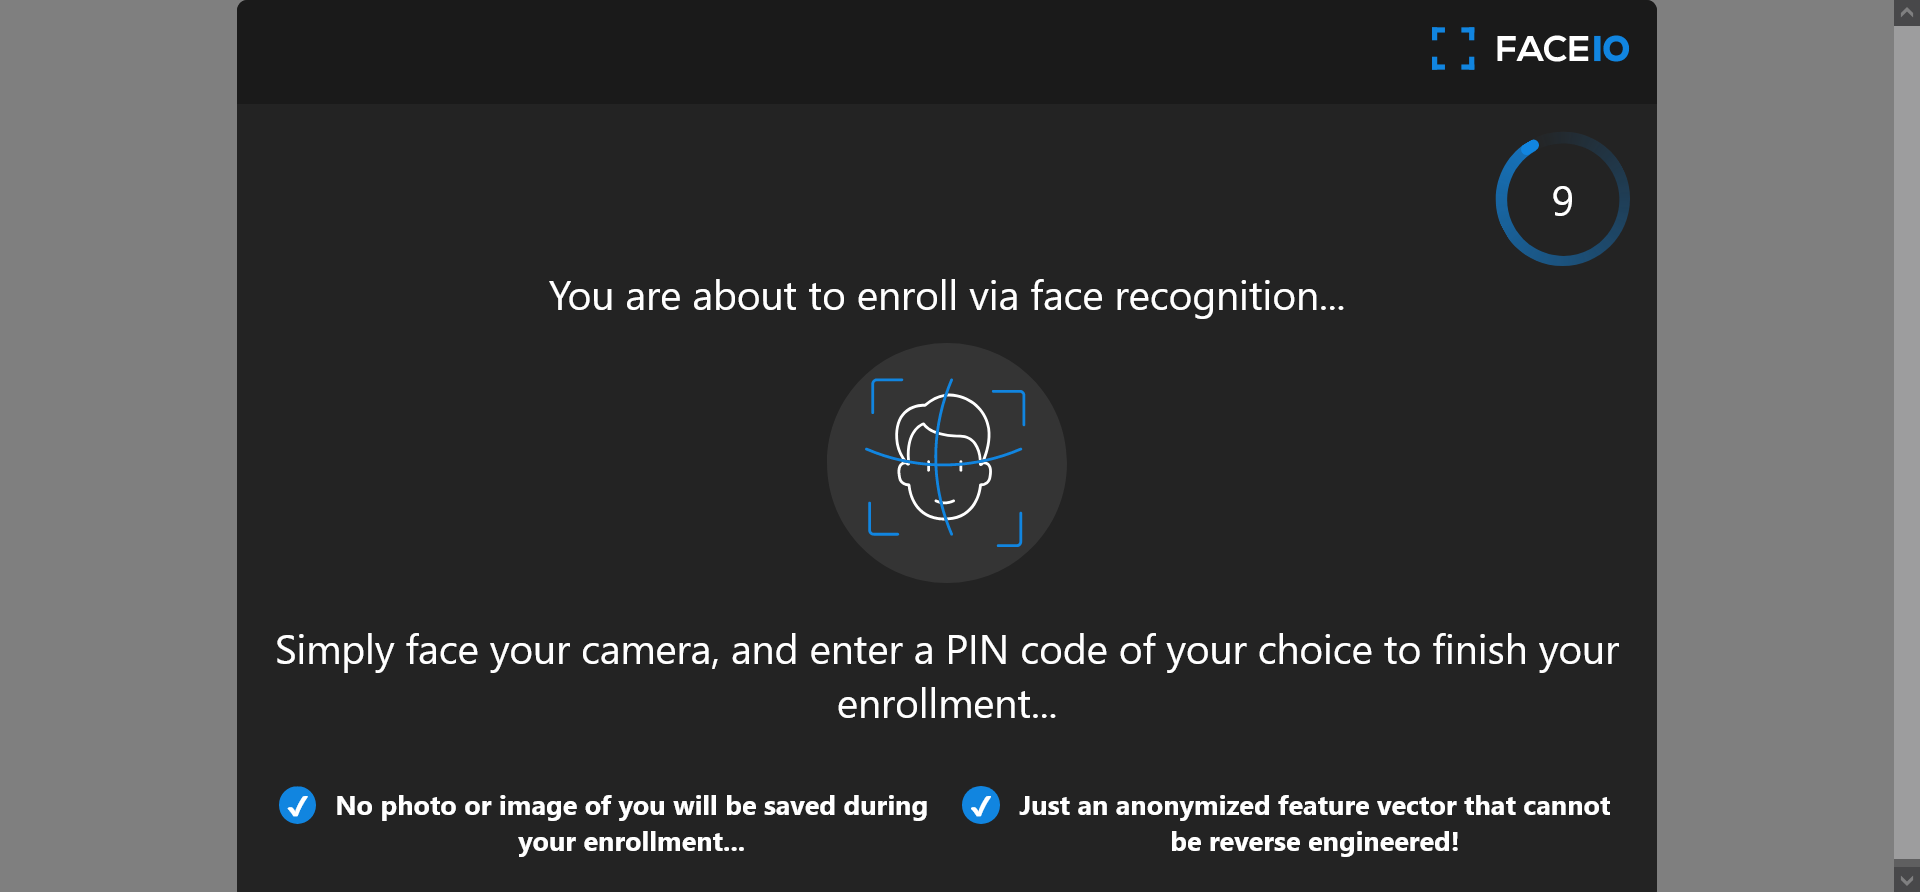
When activated, this powerful security feature diligently screens and identifies users' age during the on-boarding process, and thus will forbid minors less than 18 years old from enrolling on your application with the fioErrCode.MINORS_NOT_ALLOWED error code being raised if a minor try to on-board on your application, reinforcing your compliance and security measures. This highly requested security feature is immediately available to trigger from the FACEIO Console. Please refer to the updated boilerplate integration code to see this feature in action.
Comply with Jurisdictional Regulations 📜
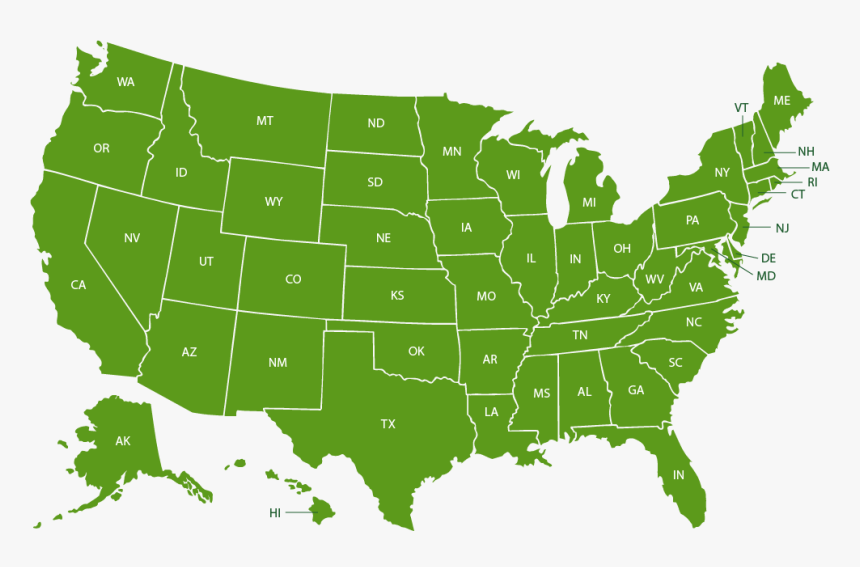
If your application is offering sensitive services or operating in jurisdictions such as the UK and certain US states that strictly prohibit minors from accessing such services, this security feature is mandatory & invaluable tool for you. By activating it, you can seamlessly align with legal requirements and ensure that only eligible users gain access to your platform.
PAS 1296:2018 Compliance & Age Verification Check
We understand the criticality of meeting industry standards and regulations. That's why we are excited to inform you that PixLab Insight, the default Facial Recognition Engine for FACEIO, is ready to fulfill the PAS 1296:2018 code of practice for online age verification accredited by the UK's Age Check Certification Scheme (ACCS). Our technology guarantees robust age verification capabilities, bolstering your compliance efforts.
Experience the Future of Secure Facial Recognition ✨
At FACEIO, we are committed to providing you with state-of-the-art tools to safeguard your applications and users. The introduction of Minors Access Restriction adds an extra layer of security, giving you peace of mind and enabling you to cater to the right audience for your services.
To explore this exciting new feature and integrate it into your application, simply connect to the FACEIO Console, and activate this option from the Security Tab of your Application Manager. Our comprehensive documentation will guide you through the activation process and assist you in optimizing the functionality for your unique requirements.
24/7 Support & Integration Assistance
We would be thrilled to assist you in implementing the Minors Access Prevention Security Feature or answer any questions you may have. Reach out to our dedicated support team via the FACEIO Console or the Community Forum. Our experts are ready to provide you with top-notch assistance and help you unlock the full potential of FACEIO.
Embrace the power of age verification and elevate the security standards of your FACEIO application. Join us on this exciting journey as we revolutionize facial recognition technology together!
Stay secure, stay compliant, and stay ahead with FACEIO!